How to Print Business Cards
We’ll show you how to print business cards in this easy-to-follow, step-by-step design and printing guide. Lots of useful tips for first-time users. Let’s go through the process of creating and printing business cards.
Know Your Options
Step 1: Determine If Your Card Should Be Standard or Die-Cut
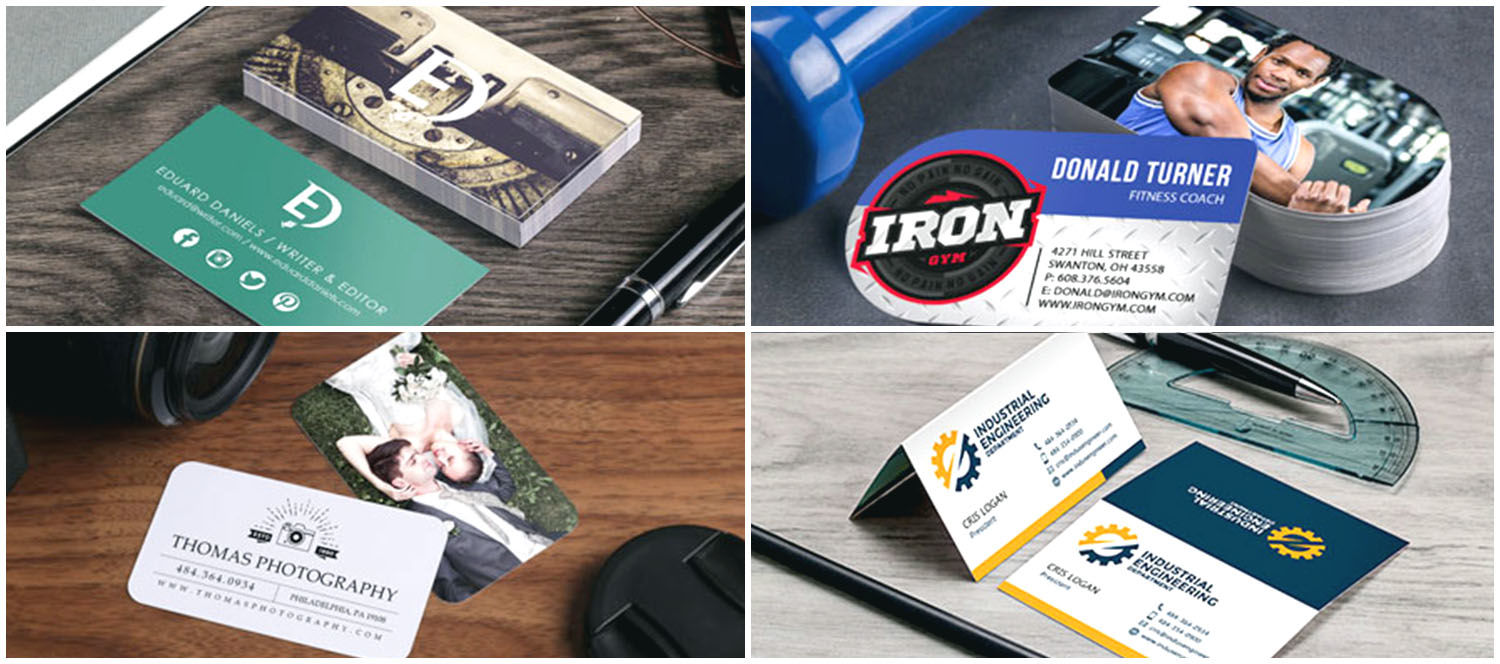
Business cards come in different shapes. On one hand, you have your standard business cards. That would be 2” x 3.5”. But there are other size options available as well.
Then you have your die-cut business cards. They have distinct features that allow them to stand out from the crowd. For this reason, they’re usually a bit more expensive than standard business cards, but stand out that much more too. Die-cut business cards can be cut into different shapes including adding rounded corners or a half circle, or creating a completely different shape like square, round, or oval.
Step 2: Read Up on Paper Options
Gone are the days when users were tied down to simple cardstock. There are way more options today as far as business card paper goes.
For starters, users can print on plastic now. This gives business cards added rigidity and durability. Plastic business cards come in clear, white, or frosted. Which you choose depends on your design.
You also need to consider your paper thickness. Generally the thicker your cards are, the better because thicker cards are more robust and feel more upscale. However, those who are on a tight budget could go for a thinner cardstock. 
Step 3: Consider Foil Stamping (Optional)
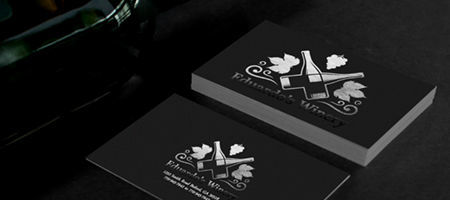
Those who’d like to stick to cardstocks won’t have to settle for a boring design. Adding foil stamping to your design should make your cards ten times more appealing. Foils are usually available in three colors: gold, copper, and silver.
Step 4: Choose Your Coating Option
There are different reasons why someone would coat their cards. Not only do they protect your cards from dust and damage, coatings also makes them shiny.
Matte, gloss, and high-gloss UV are the most popular coating options for business cards. However, you can opt to leave you cards uncoated. This would make it easier to handwrite notes on them.
Step 5: Select a Size
Next, you have to consider the size of your business card. There’s no real set of rules for selecting a size. It can be as large or as little as you need them to be. It all depends on your design. Larger business cards are better if you’re in a creative industry like photography or graphic design. That way you can use your cards to show off some of your work.
Design Your Business Cards
After you determine what business card specs to use, you can proceed with designing them.
Step 6: Conceptualize a Design
Work on the concept of your business card design. What elements do you want to include? What colors do you use? Do you want it to look professional and clean or do you want to mix it up and add your own flavor? Do you want the design to be minimalistic or bursting with life?
If conceptualizing becomes too strenuous, look at other business card designs for inspiration.
Step 7: Consider What Information to Include
Think about what information you’d like to be present on your card. Traditionally, people add their name, business address, phone number, and email. However, times are changing and adding all these are no longer necessary.
There are people who only add their business name and website or social media handles. At one point, QR codes were all the rage. Decide what information makes the most sense for you to include or exclude from your design.
Step 8: Create a Design
There are two ways you can go about this. One, you can create a design on your own. Or two, you can look for a graphic designer.
Doing it on your own is no big deal at this point. This is especially true for people who are going for a simpler, minimalistic design. There are also online tools or downloadable software (both free and paid) available which makes designing a snap.
The internet is also a great resource for business card templates.
Hiring a designer is necessary for more complex jobs. It lifts the burden of designing a business card so you can shift your focus to more pressing concerns. There are different sites you can use to find talented individuals who can take on the task at hand. Some of which offer payments on a per-project basis.
Print Your Business Cards
With the design in the books, it’s time to print out your business cards.
Step 9: Choose Where to Print: At Home vs. Professional Printing
Printing at home can be viewed as a cheap. Not only do you compromise quality, you might end up spending more, especially if you print in small batches.
If you had your business card professionally designed, it would be a shame to print it out on a substandard printer using low-quality paper. If you’re firm on a DIY approach, make sure you buy premium paper. Also, check your printer if it’s able to handle complex printing. 
Professional printers, on the other hand, use industry-leading standards for business card printing. You can use an online printing company to make the job less complicated. Online printing companies are convenient since all you have to do is upload your artwork and they will take it from there.
Step 10: Setting Up Your Files
Whether you’re printing at home or having someone do it for you, you will need to have your design file set up correctly. This will ensure that you achieve the best results.
One thing to remember is to make your design file slightly larger than the size you need. Adding ¼” margin around your design and extending all your background elements is ideal. This is referred to in the printing industry as “bleed.”
The reason you add bleed is to make room for cutting. Even professional-grade cutters will not hit the mark 100% of the time. That’s why it’s important to give it some breathing room.
Setting the right resolution is just as important. Designs meant for printing should have at least a resolution of 300 dpi for it to be usable. If you’re working with a printing service, they can help you with your file setup.


